Picture a phone repair shop owner with two screens side by side. On the left, Ads Manager: a campaign with a handful of reported conversions and a cost per result that looks terrible. On the right, the shop’s own booking sheet: a busy week, with several customers mentioning they saw the shop on Instagram. Both screens are telling the truth about what they can see. Neither is telling the whole story.
That gap between what Meta reports and what actually happens in your business is the most expensive blind spot in paid social. The fix is the Meta Conversions API, and in this guide I will walk through what it does, why the pixel alone stopped being enough, and the exact setup I use for clients.
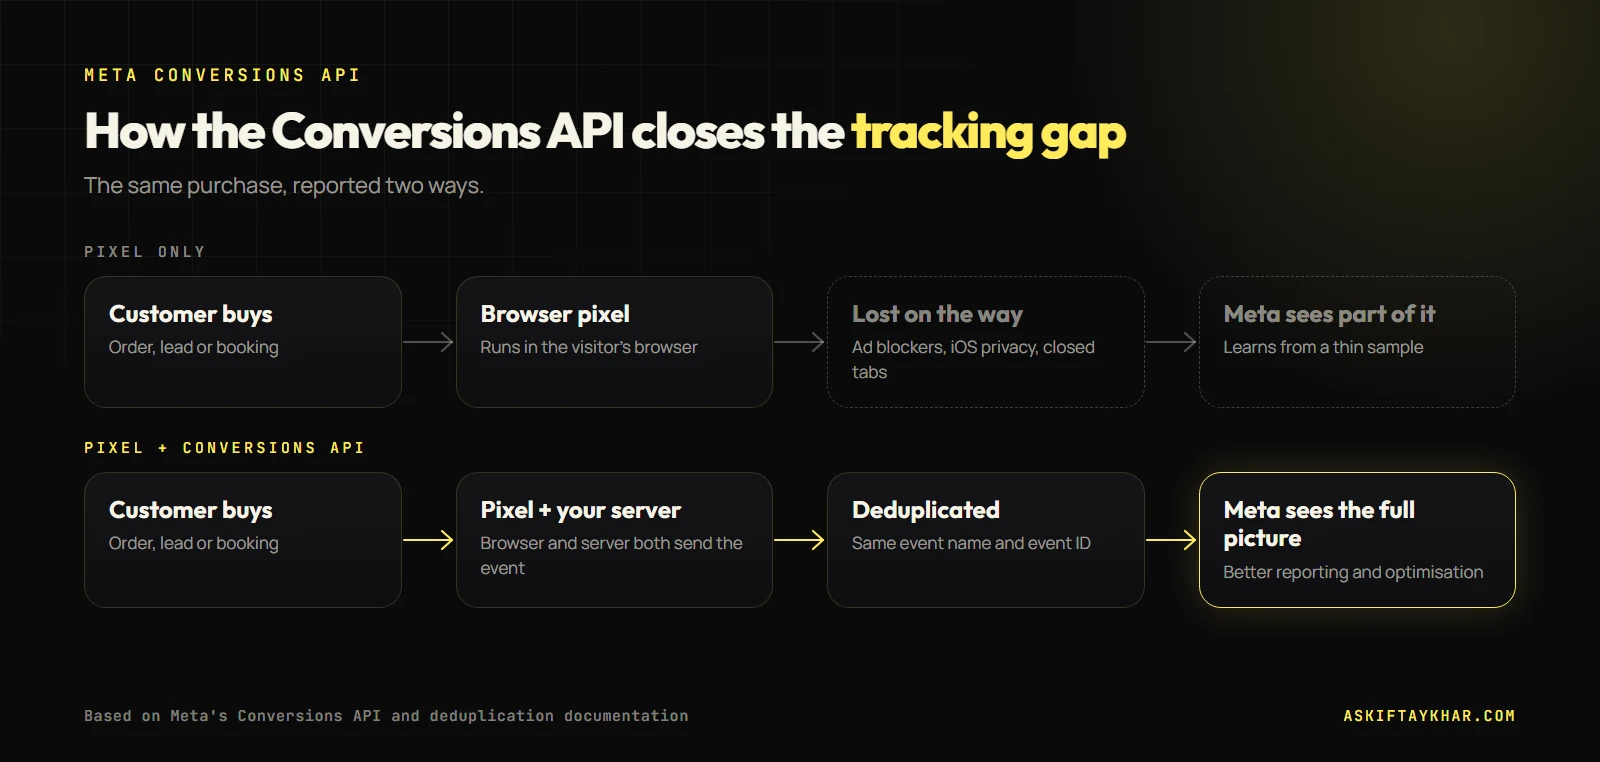
The Meta pixel is a piece of JavaScript that runs in the visitor’s browser. For years that was fine. Then the browser became a hostile place for tracking.
Apple’s iOS 14.5 update in April 2021 introduced App Tracking Transparency, which asks iPhone users whether apps may track them. Ad blockers and privacy browsers strip tracking scripts. Safari limits how long cookies live. And plenty of real buyers simply close the tab before the thank-you page finishes loading.
Each of those moments is a sale or lead that happened but never reached Meta. The result is not just a reporting problem. Meta’s delivery system optimises toward the conversions it can see, so when it sees fewer of them, it learns from a smaller and less representative group of buyers. That usually shows up as rising costs and an ad set stuck in “Learning limited”.
The Conversions API (often shortened to CAPI) is a server-to-server connection. Instead of waiting for a browser to report an event, your website server, CRM, booking tool or ecommerce platform sends the event straight to Meta.
Think of the pixel as a customer telling a friend they bought something, and the Conversions API as your cash register sending the receipt directly. You want both, because each catches what the other misses.
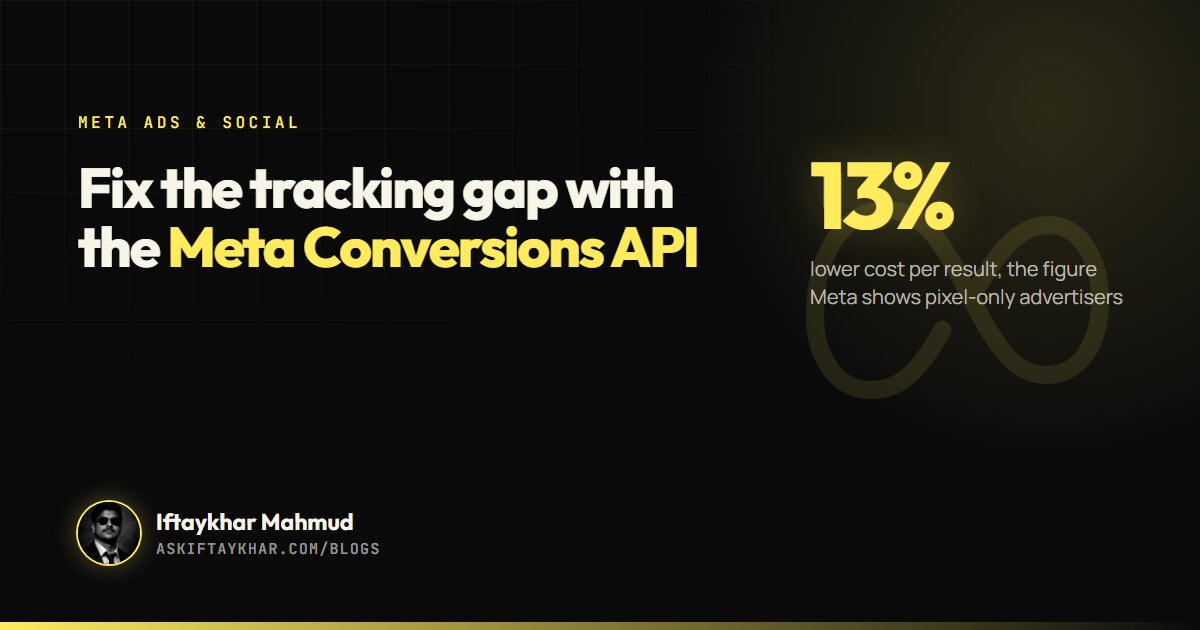
Meta is open about why it wants advertisers on it. When an account runs the pixel without server events, Events Manager shows a prompt saying you could lower your cost per result by 13% if you set up the Conversions API, a figure Meta bases on its own case studies. I treat that as Meta’s claim rather than a promise, but the logic holds: more complete data gives the algorithm more to work with.
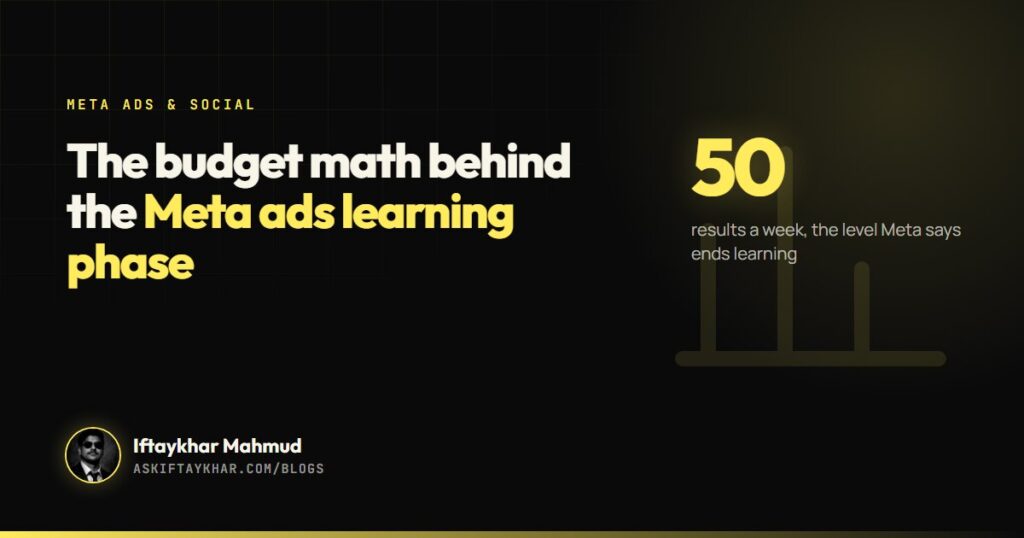
It also matters for the learning phase. Meta says ad sets usually exit learning after about 50 results in the week after the last significant edit. If a quarter of your real results never arrive, you need more budget to reach that threshold. I cover that budget math in detail in the Meta Ads learning phase guide.
The four Conversions API mistakes that cost the most
Plenty of accounts do not have zero server tracking. They have server tracking that is quietly broken. These are the patterns worth checking first.
1. Server events with no deduplication
If both the pixel and the server send a “Purchase” for the same order and Meta cannot tell they are the same event, you double count. Reported revenue looks fantastic and every decision built on it is wrong.
Meta deduplicates when the browser event and the server event share the same event name and the same event ID. The event ID has to be generated once, on the page, and passed to both the pixel and the server call. When I see a sudden jump in reported purchases right after a CAPI install, missing or mismatched event IDs are the first thing I check.
2. Weak Event Match Quality
Meta has to match each server event to a real person on Facebook or Instagram. It does that with customer information parameters: email, phone number, name, city, the fbp and fbc browser identifiers, IP address and user agent. Events Manager scores this as Event Match Quality on a scale from 0 to 10.
Sending only an IP address gives Meta very little to match. Sending a hashed email and phone number with every lead or purchase gives it a lot. The platform integrations hash these for you; if you build a custom connection, you hash them with SHA-256 before sending.
3. Optimising for an event that is not the business outcome
A repair shop does not make money when someone views a page. It makes money when a customer walks in with a cracked screen. If the only event Meta receives is a page view or a button click, the campaign will find you more people who click buttons.
The Conversions API accepts events from outside your website. You can send a booked appointment from your calendar tool or a completed job from your point-of-sale, with the action source set to something like physical_store or system_generated. That is how a local business finally teaches Meta what a good customer looks like.
4. A setup nobody owns
Server tracking breaks silently when a plugin updates, a checkout changes or an API token expires. The pixel keeps firing, dashboards keep showing numbers, and nobody notices that server events stopped three weeks ago. Someone has to check it on a schedule.
Four ways to set up the Conversions API
There is no single right method. The best one depends on your platform and how much control you need.
| Setup route |
Best for |
Effort |
Control |
| Platform integration (Shopify, WooCommerce and similar) |
Online stores on a supported platform |
Low |
Limited to what the integration sends |
| Conversions API Gateway |
Businesses that want a managed server without code |
Medium |
Good for web events |
| Server-side Google Tag Manager |
Teams already using GTM who want one tracking layer |
Medium to high |
High |
| Direct API calls from a CRM or booking tool |
Lead generation and offline sales |
High |
Full, including offline outcomes |
For most ecommerce brands I start with the platform integration and then check its event quality. For service businesses where the sale happens later, I connect the CRM or booking system directly, often through an automation tool, so that qualified leads and completed jobs flow back to Meta. That second route is where the biggest gains usually hide.
How I set it up for a local service business
- Name the real business event first: a booked repair, a qualified lead, a paid invoice.
- Generate one event ID per action on the website and pass it to both the pixel and the server call.
- Send hashed email and phone with every event where the customer gave them.
- Push offline outcomes from the booking or sales system with the correct action source.
- Check Events Manager every week: deduplication, match quality and whether server events are still arriving.
Once events are flowing, confirm three things in Events Manager.
- Test events: use the Test Events tab to fire a real form submission or purchase and watch both the browser and server versions arrive.
- Deduplication: in the event details, Meta shows whether browser and server events are being deduplicated. If it reports both as separate events, fix your event IDs before you spend another dollar.
- Match quality: look at the Event Match Quality score for your main event and see which parameters Meta says are missing.
Then do the check that most people skip. Once a week, compare what Ads Manager reports with what your own system recorded for the same period. They will never match exactly, and that is fine. What you are looking for is a stable relationship. If Meta usually sees about 80% of your real bookings and one week it suddenly sees 40%, something broke.
What this looked like in real client work
When I rebuilt Meta acquisition for OZ Mobile Phone Repair, the question that mattered was never how many people clicked. It was which ads put customers at the counter. The case study covers the creative testing, audience architecture and always-on retargeting, and every one of those depends on Meta knowing which ads lead to real jobs.
For an online label like Icon Shopper, the stakes were different: catalogue ads and retention retargeting only work when purchase events are complete and deduplicated, because the audience of repeat buyers is built from them.
If you want this done properly in your account, it is a core part of my front and backend Meta marketing work, and when the website itself is the weak point I rebuild it as part of website build and design. You can read more about how I work on the About page.
 Iftaykhar MahmudGrowth marketer, Dhaka